Glaze is an innovative tool designed to protect artists from style mimicry by generative AI models. This step-by-step guide will help you navigate and utilize Glaze effectively.
What is Cara Glaze?
Cara Glaze integrates the Glaze tool into the Cara.app platform. Users can:
- Create posts that automatically apply Glaze.
- Upload multiple images and download the Glazed versions.
How Cara Glaze Works
On the Cara Glaze dashboard, you can:
- Create a new post and Glaze all images within the post.
- Upload multiple unrelated images to be Glazed.
Using +New Post Option:
- Click + New Post.
- Attach images as usual.
- After clicking next choose your Glaze intensity.
- Click “Glaze” to process the images.
Using Choose File Option:
- Batch upload your images.
- Review and Glaze each image individually for more control.
After Glazing images move to the Output section and are queued. You'll receive notifications once Glazing is complete.
Glaze Image Quality and Output
For any issues with Glaze output or image quality:
- Check the official Glaze website for guides and FAQs.
- Contact the Glaze team directly via Discord or their website.
Notes & FAQ:
- Cara Glaze is currently available on desktop and mobile browsers with plans to add it to the mobile app later.
- For questions about Cara Glaze check the Cara FAQ or submit bug reports via Discord or email.
Step by Step Guide to Using Glaze
Step 1: Sign Up and Set Up Your Account
- Visit the Glaze Website: Go to the official Glaze website.
- Create an Account: Click on the Sign Up button and fill in your details.
- Verify Your Email: Check your email for a verification link and click on it to activate your account.
Step 2: Familiarize Yourself with the Dashboard
- Login: Enter your credentials to log in to your Glaze account.
- Explore the Dashboard: Take a few minutes to explore the dashboard. Familiarize yourself with the main sections Projects, Tasks, Calendar, and Settings.
Step 3: Create a New Project
- Navigate to Projects: Click on the Projects tab in the dashboard.
- Add a New Project: Click the New Project button. Enter the project name description, and other relevant details.
- Save the Project: Click Save to create your project.
Step 4: Add Tasks to Your Project
- Select Your Project: Click on the project you created.
- Add Tasks: Click on the Add Task button. Enter the task name-description-due date and assign it to a team member if necessary.
- Organize Tasks: Use tags and categories to organize tasks effectively.
Step 5: Use the Calendar for Scheduling
- Access the Calendar: Click on the Calendar tab.
- Schedule Tasks: Drag and drop tasks from your project into the calendar to schedule them.
- Set Reminders: Set reminders and deadlines for each task to stay on track.
Step 6: Collaborate with Your Team
- Invite Team Members: Go to the Settings or Team section and invite team members by entering their email addresses.
- Assign Tasks: Assign tasks to team members and set permissions as needed.
- Communicate: Use the in app messaging or comments feature to communicate with your team.
Step 7: Track Progress
- Monitor Tasks: Regularly check the status of tasks in the Tasks or Projects section.
- Update Status: Mark tasks as In Progress, Completed or Pending to keep everyone updated.
- Generate Reports: Use the reporting feature to generate progress reports and analyze productivity.
Step 8: Customize Settings
- Personalize Your Dashboard: Go to Settings and customize your dashboard to suit your preferences.
- Notification Settings: Adjust notification settings to receive updates via email, SMS, or in app notifications.
Step 9: Integrate with Other Tools
- Explore Integrations: Check the Integrations section for tools that can be integrated with Glaze.
- Connect Tools: Follow the instructions to connect other productivity tools (e.g., Slack, Trello, Google Calendar) with Glaze.
Step 10: Utilize Advanced Features
- Automations: Set up automations to streamline repetitive tasks.
- Analytics: Use the analytics feature to gain insights into project performance and team productivity.
By following these steps, you'll be able to harness the full potential of Glaze and manage your projects more efficiently.
Happy Glazing! For more detailed information, visit the official Glaze blog.
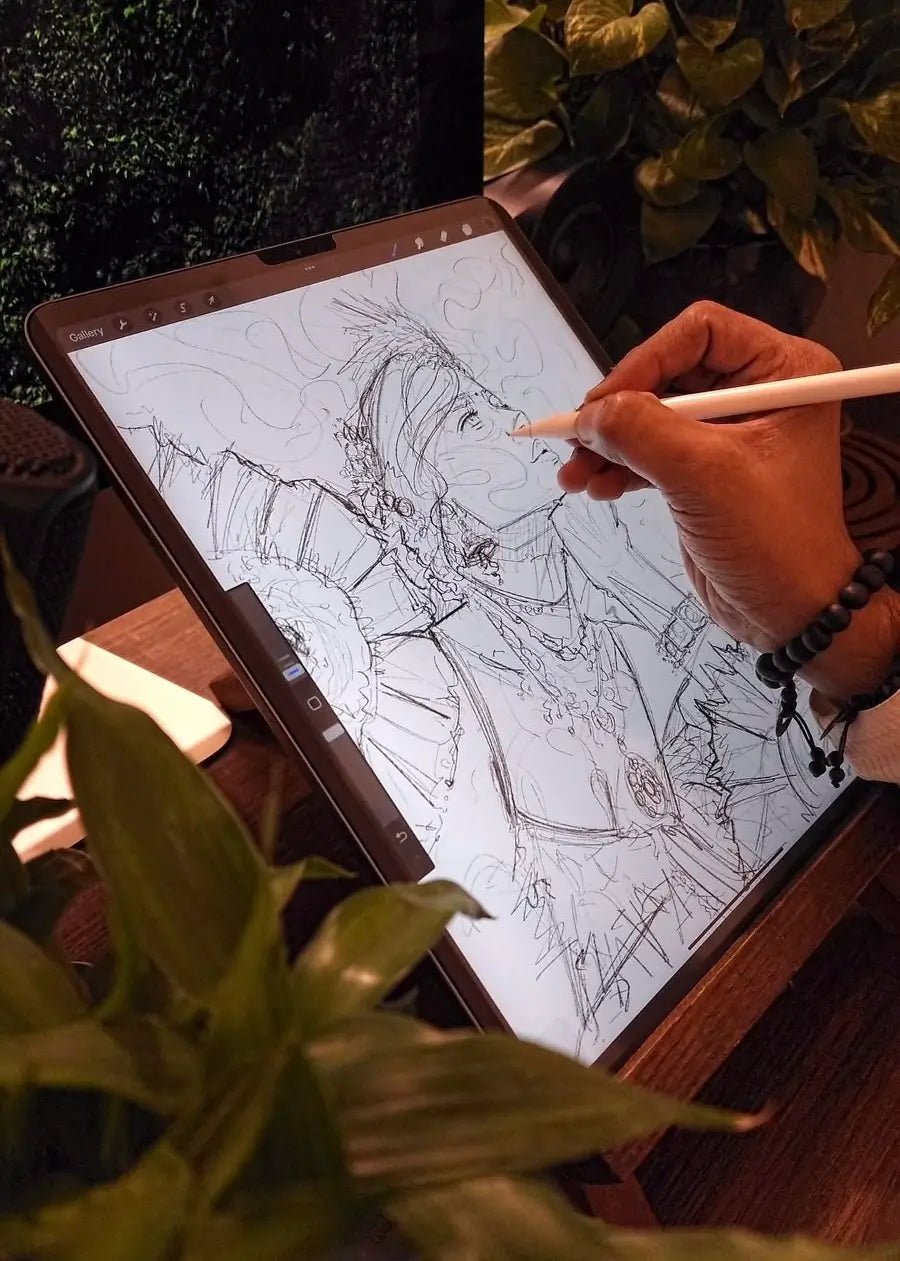
In the next blog:
I will share the oil painting process using Procreate. 
![[THE KRODH-X] Procreate brush set for realistic watercolor effects: washes, textures, and blending.](http://thekrodh-x.com/cdn/shop/files/watercolor-procreate-brushes-portrait_0f2361d3-8786-40e6-b6d3-2f611ce4a7a8.webp?v=1710068305&width=1920)


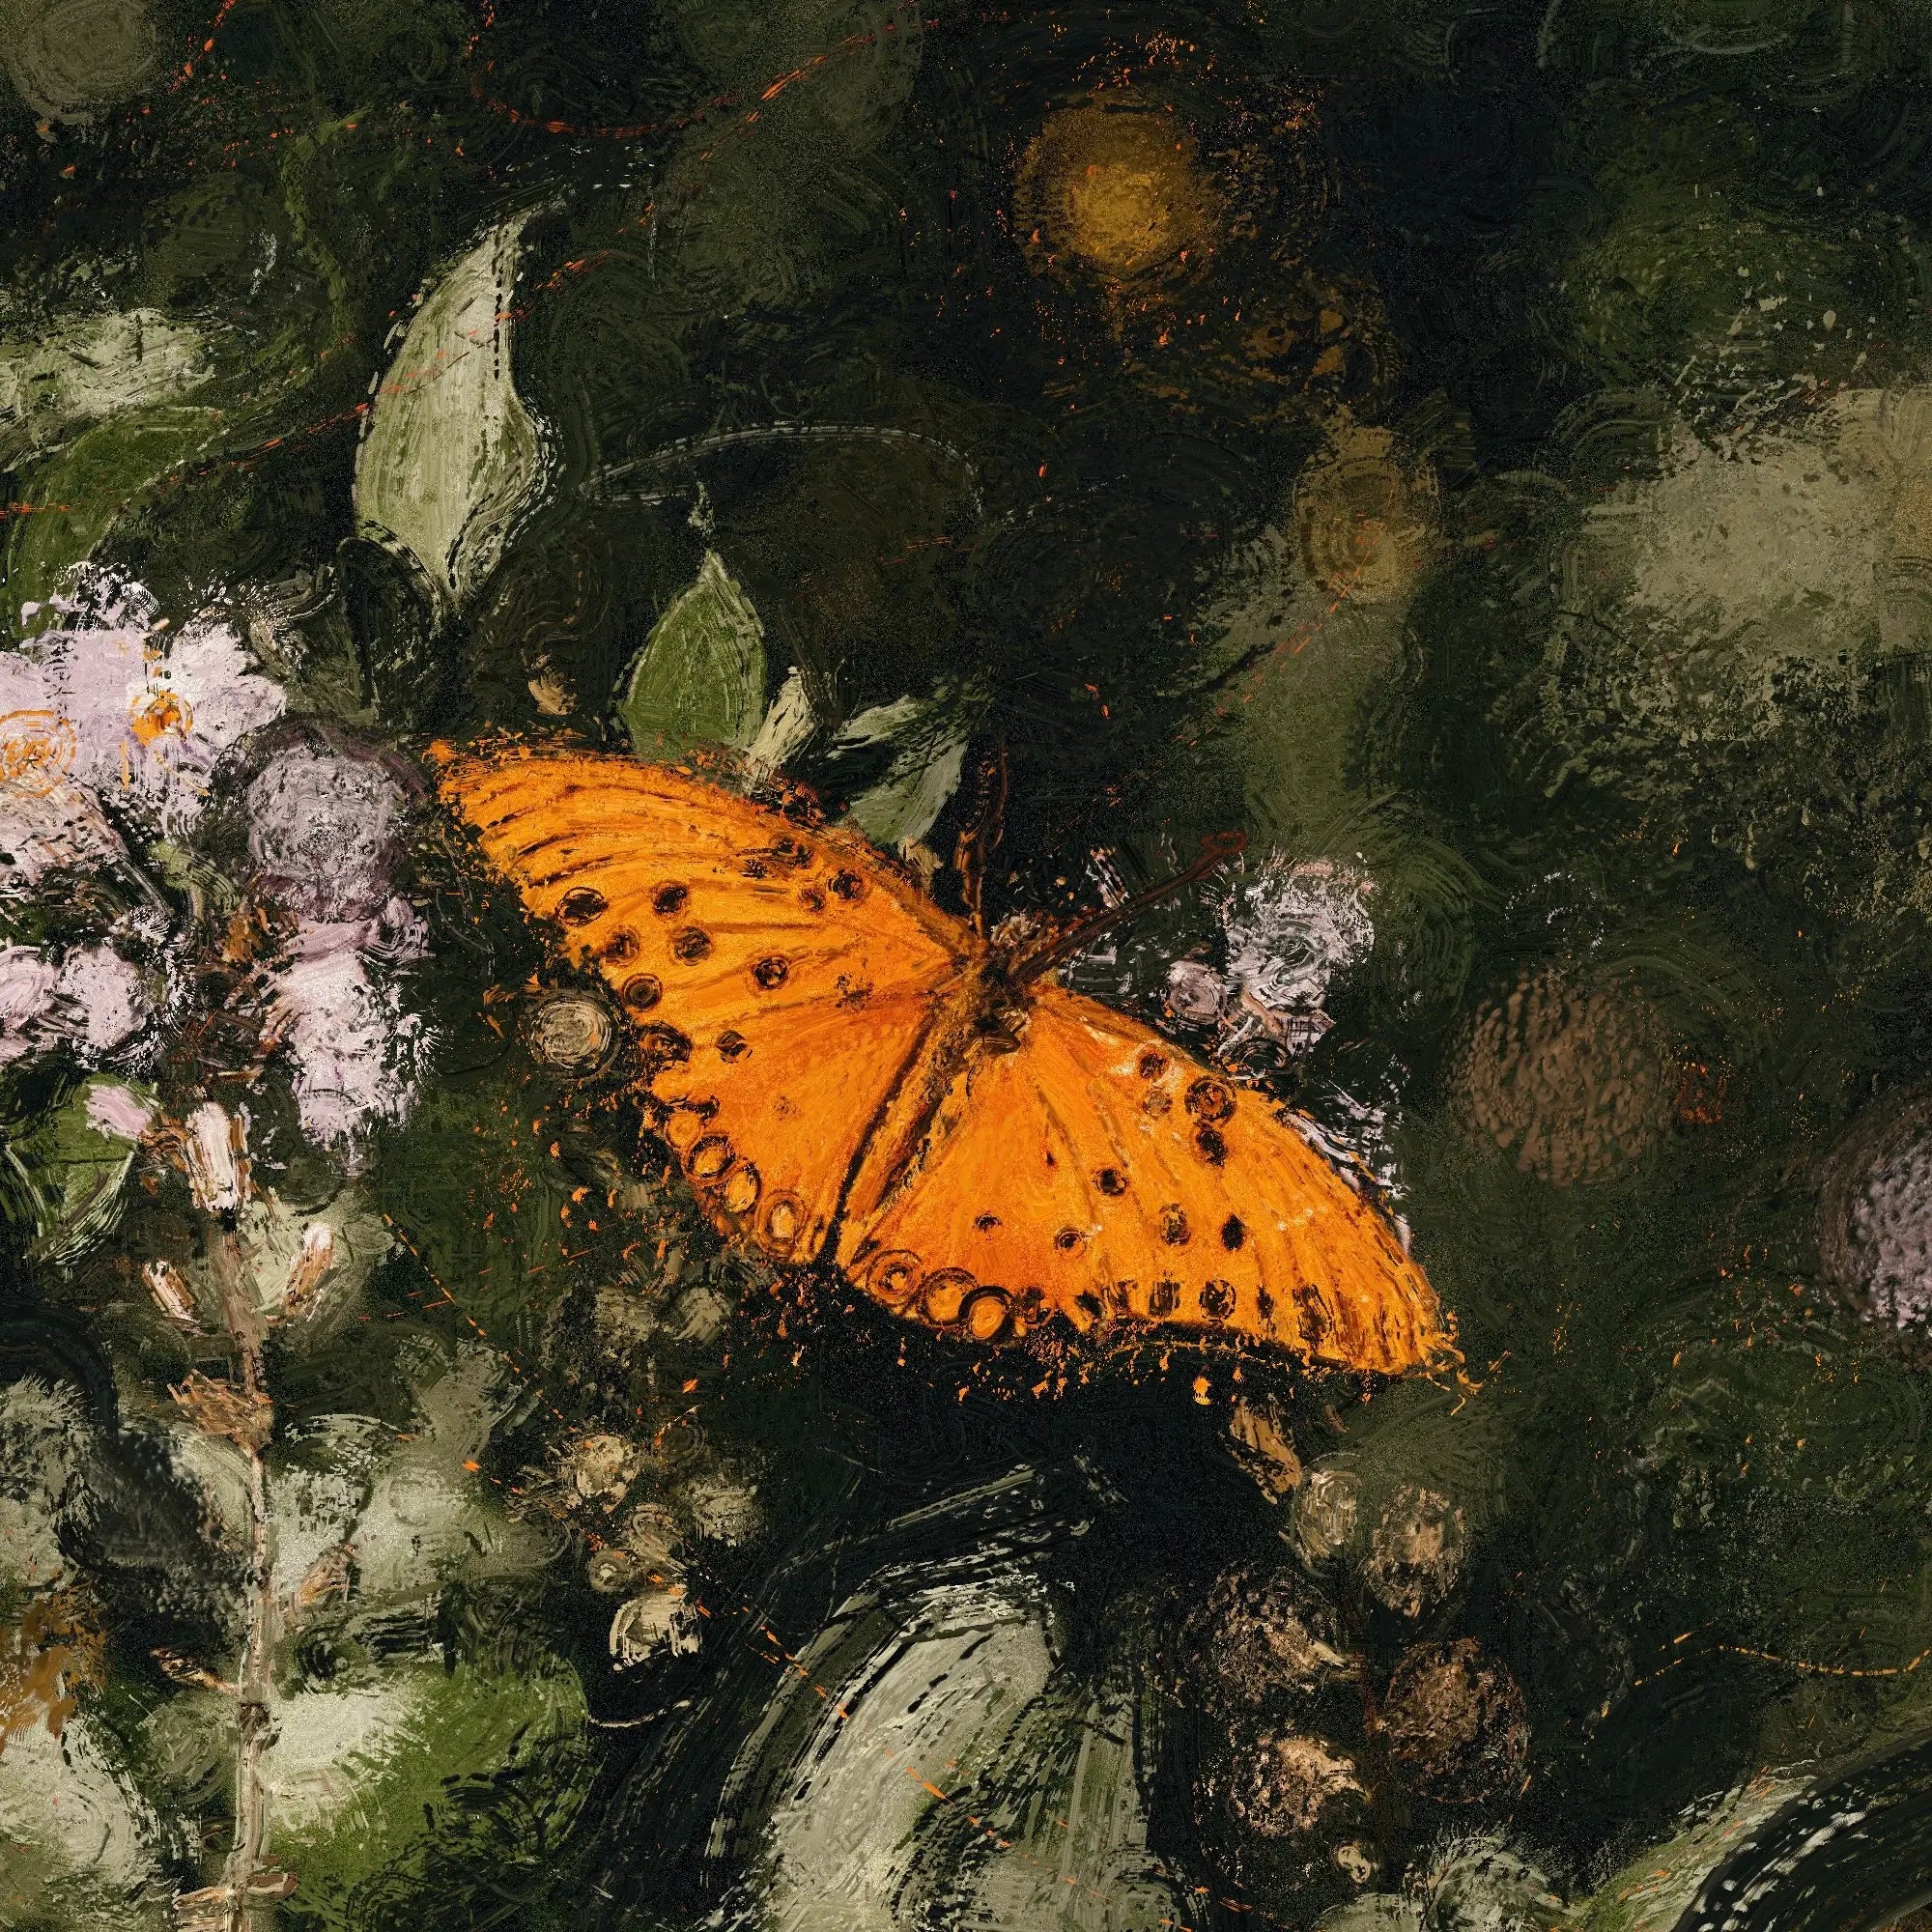
![[The Krodh-X] Procreate oil brushes for realistic impasto effects, layering, and classic painting techniques](http://thekrodh-x.com/cdn/shop/files/Portrait-oil-painting-procreate-brushes.webp?v=1710070202&width=1786)